Tuesday, August 30, 2005
Finished Gluing Left Leg
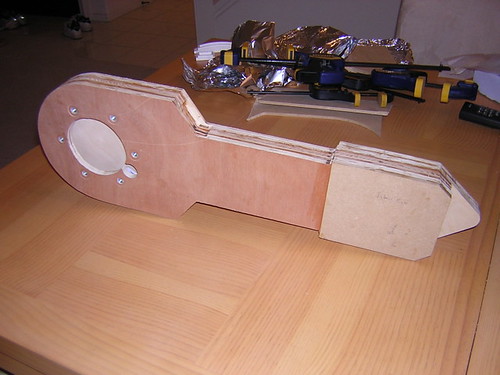
I finished gluing the last layers of the left leg today. They don't look like much, but hopefully once they're sanded and painted they will look like real R2 legs. One day I'll find out how to cut the Tape-Ease cylinder, and at that point I can prime and maybe even paint the legs. Also ordered Pat's aluminum shoulder hubs. Also spent a frustrating evening at Home Depot trying to fit together 3/4" gas pipe into 1" gas pipe with no luck. May try the same exercise at Lowe's.
Monday, August 29, 2005
More Resin Parts, Finished Gluing Right Leg
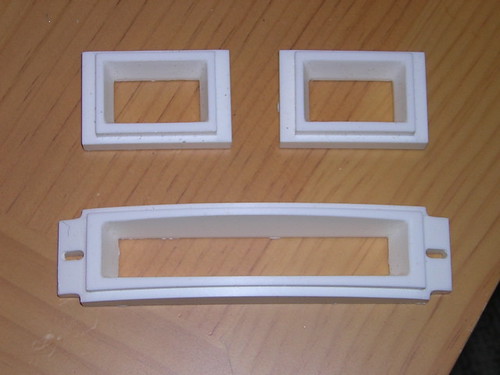
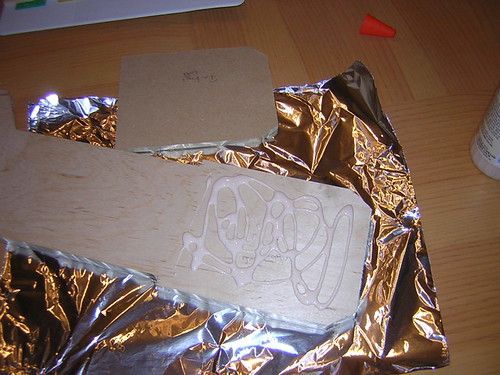
Azman's front and rear logic display surrounds arrived today. (Keith's parts were shipped today.) These frame the LEDs on R2's dome. The small ones go on the front, the larger one in the back. But why not make a face in the meantime?
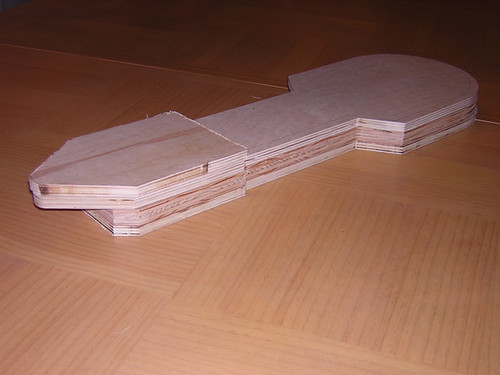
I also finished gluing the right leg today! I started gluing the left leg's main outboard layers. Should be done tomorrow.
I also finished gluing the right leg today! I started gluing the left leg's main outboard layers. Should be done tomorrow.
Sunday, August 28, 2005
Drilled Wire Holes, Started Gluing Right Leg Main Layers
I drilled holes out of the shoulder discs and inner-most shoulder area of the right leg to facilitate the electrical wires that will run from inside R2's body, down to the motors in the feet. I also began gluing the two outboard main leg layers on the right leg. Made a stop at Home Depot to pick up some more sand paper, DAP Plastic Wood, and an extra 5/16"x2" bolt to replace one of the existing bolts whose threads didn't seem to be quite right. Not picture-worthy (again).
Saturday, August 27, 2005
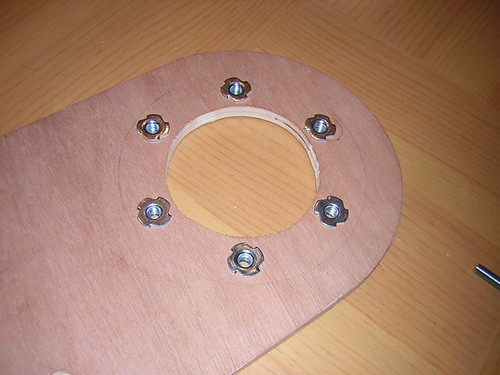
Rounded Shoulder Disc, Installed Tee-Nuts
I finally had a chance to go over to Kelvin's today and use the router table to smooth out the edge for the (now) circular shoulder disc. After that I used his drill press to drill six holes into each shoulder for the tee-nuts, which I later installed at home.
At this point, I still need to drill some holes for the wires that lead to the motors, and then glue up the leg layers. I also need to figure out how to saw the Tape-Ease cylinder.
At this point, I still need to drill some holes for the wires that lead to the motors, and then glue up the leg layers. I also need to figure out how to saw the Tape-Ease cylinder.
Friday, August 26, 2005
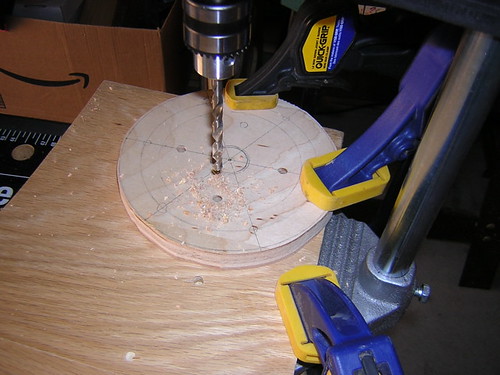
Finished Drilling Shoulder Discs
I drilled six 5/16" holes in each of the two shoulder discs, so the drilling is complete. Still need to route the discs into a smooth circle, and drill the holes for the t-nuts in the legs.
Thursday, August 25, 2005
Started Drilling Shoulder Discs, Ordered More Resin Parts
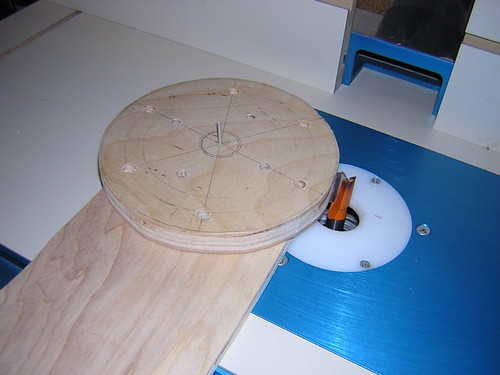
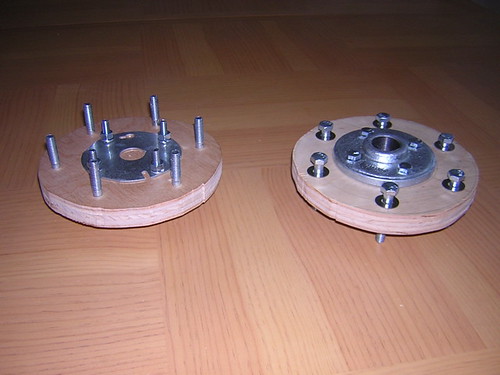
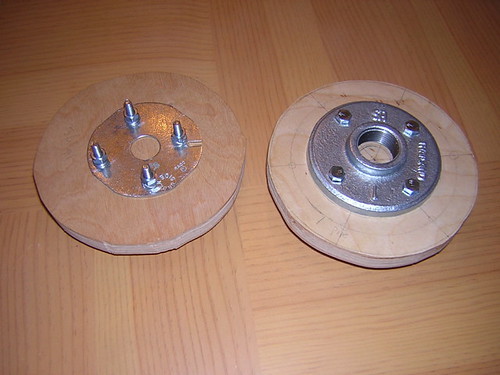
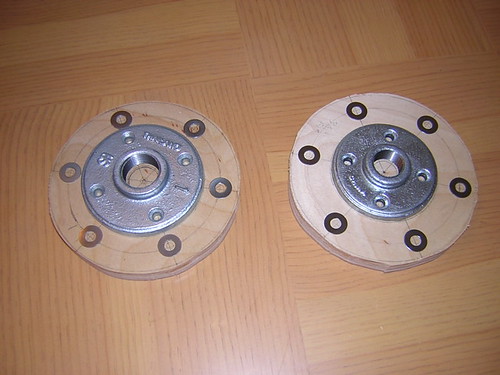
I started drilling 1/4" wide holes for the shoulder discs. Four holes in each of the two shoulder discs, plus four holes in each of the two electrical backing plates, using my poor-man's drill press. Remember, I still need to round down the edge of each disc with a router (hopefully Saturday). The backing plate on the left disc below is a bit off-centered, but don't worry, the pipe connector on the other side is centered, and that's what matters most. I can always drill new holes in the backing plate to re-center, if need be.
I also ordered several resin parts - front and rear logic display surrounds for the dome from Azman, and from Keith the radar eye, a pair of ankle cylinders and wedges, and a pair of ankle details (http://www.geocities.com/resinparts/main.html).
I also ordered several resin parts - front and rear logic display surrounds for the dome from Azman, and from Keith the radar eye, a pair of ankle cylinders and wedges, and a pair of ankle details (http://www.geocities.com/resinparts/main.html).
Wednesday, August 24, 2005
Scribed Shoulder Assembly Circles
I marked up the shoulder assembly circles to indicate where to drill the holes. Inner four holes are planned to be 1/4", outer six holes planned to be 5/16". Note that I still need to smooth these disks with a router. Also assembled my poor-man's drill press.
Tuesday, August 23, 2005
Cylinder Arrives, Trim Shoulders, More Gluing
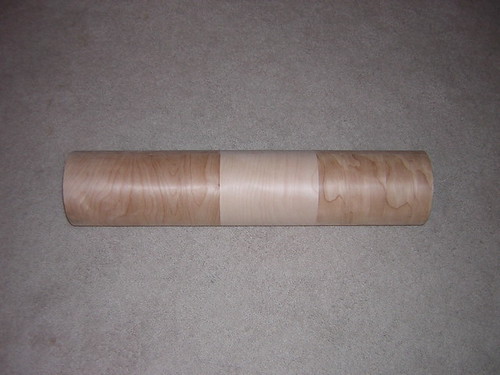
The Tape-Ease plywood cylinder arrived today. This is 27.5" long x 6" diameter x 5/16" thick wall:
I trimmed the middle shoulder layer to better accommodate the t-nuts that will hold the bolts of the shoulder assembly on:
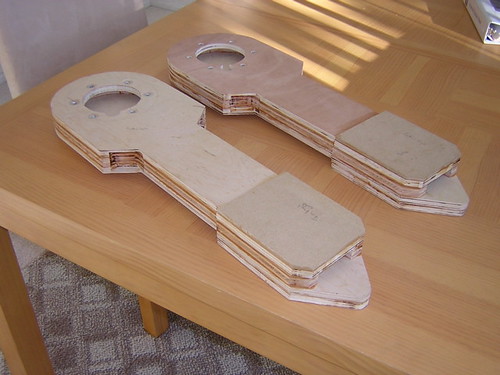
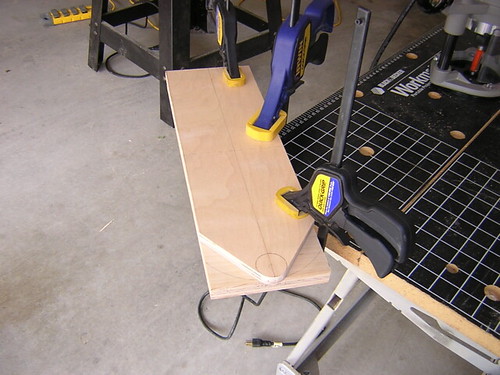
Finally, I glued up another leg layer, albeit the last small piece before I glue the larger pieces together. Photo taken before I smeared the glue more evenly:
I trimmed the middle shoulder layer to better accommodate the t-nuts that will hold the bolts of the shoulder assembly on:
Finally, I glued up another leg layer, albeit the last small piece before I glue the larger pieces together. Photo taken before I smeared the glue more evenly:
Monday, August 22, 2005
Glued Right Leg End Pieces
I glued together the two inner-most and outer-most leg pieces for the right leg today. These are small layers attaching to larger layers. Not picture-worthy (like anything is...).
Sunday, August 21, 2005
Cut Shoulder Holes, Started Gluing Outer Legs
I cut the holes out of the shoulders that will support the shoulder assembly (gas pipe that attaches the two legs through the body). I also started gluing up the first two layers of the left leg.

Also bought assorted nuts, bolts, washers and a poor-man's drill press during visits to Lowe's & Home Depot.
Also bought assorted nuts, bolts, washers and a poor-man's drill press during visits to Lowe's & Home Depot.
Thursday, August 18, 2005
Sanded Middle Leg
Did a first-pass sanding of the glued-up middle leg with 100 grit sand paper. Fairly smooth, but will do another pass before filling in with wood putty and re-sanding.
Wednesday, August 17, 2005
Purchased More Parts
Bought lots of do-dads at Home Depot, Lowe's and Ace Hardware. Picked up the 1" and 3/4" gas pipe that will connect the arms/legs through the body, various screws, backing plates, pipe holders, etc. Some parts are duplicates and will need to be returned.
Tuesday, August 16, 2005
Finished Gluing Together Center Leg Layers
Today I glued together the two other layers to the two layers that were glued yesterday. Will let dry overnight,and it should be ready for sanding. Tape Ease called back today, so the cylinder has been ordered. That will be used to create the curved portions of all three legs.
Monday, August 15, 2005
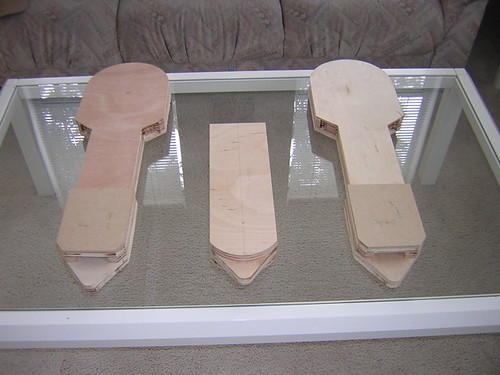
Cut Out Center Leg
Managed to get the center leg completely cut out. All it needs is the Tape-Ease cylinder (called them twice, left a message, never heard back). As usual, my planning yesterday was for naught, the mark-ups weren't perfect. The center leg was about 10 times easier than the outer legs.
Glued one of the inner and outer layers of the center leg together.
Glued one of the inner and outer layers of the center leg together.
Sunday, August 14, 2005
Marked Up Center Leg
Picked up yet more 1/2" plywood for the center leg. The center leg requires two 1/2" layers of plywood (inner layers), and two 3/4" layers of plywood (outer layers). Marked up the plywood to spec for cuts tomorrow.
Saturday, August 06, 2005
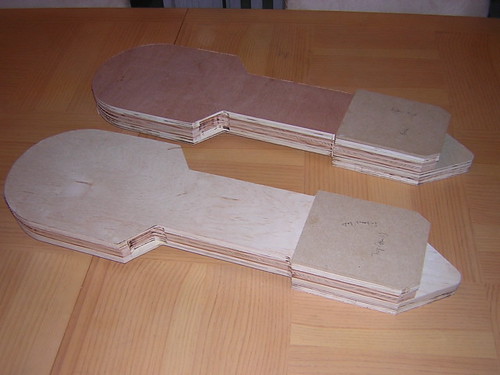
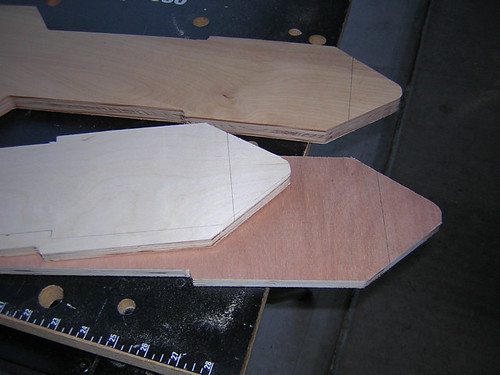
Finished Major Outer Leg Cuts
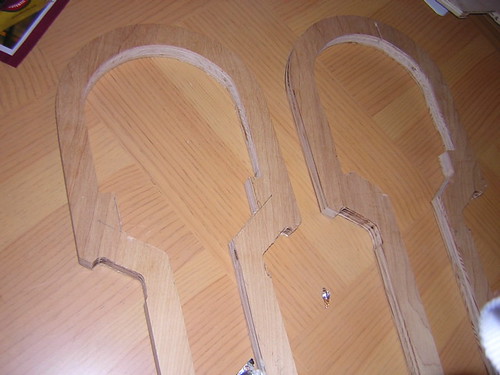
Well, I finally finished the major cuts of the outer legs. Eventually I'll need to cut out a circle on each inboard layer to accommodate the bracket that will support the pipes that connect the two legs through the body, but that will come later. For now it's gluing and sanding these layers. Up next, the center leg.

Friday, August 05, 2005
More Leg Cuts
Made a small template for those parts of the ankle section that need the tip chopped off. Cut four leg parts to size. Still much to do.
Subscribe to:
Posts (Atom)
