Monday, March 30, 2009

Finished Styrene Channel for Ankle

Today I finished working on the styrene channel for the outer ankles that I started yesterday.

Step one was to trim off the excess styrene with a razor blade.


There was a small void in each corner of the slot.


I cut small pieces of styrene and glued them on the underside to cover up the small holes.


All better!


Next, I slathered good ol' Evercoat into the edge of the slot where it meets the styrene.


After it dried, I sanded it smooth.


And finally a mist coat of primer to check out the results.


It came out pretty well, I may not have to do any additional filling. I will apply some more primer, sand and hopefully call the curved part of the ankle done.

Sunday, March 29, 2009

Cut Ankle Slots, Started Styrene Channel

Time to break out the calculator and measure and mark the locations for the slots in the ankles.


With a little trigonometry, I determined that the bottom of the slot starts at 1.46" above the bottom of the sloped part of the ankle, while the top of the slot ends at 1.69" from the bottom of the sloped part of the ankle. I measured and marked the outline for the slots.


For droid #1, I used a router bit to cut the slot into the ankle. This time, I used the Dremel with the cutoff wheel.


What the Dremel didn't get, I managed to clean up with an assortment of files. This was a bit tedious and time-consuming, but such is droid building.


I increased the height of the slots slightly taller than to spec, as I am going to insert some styrene channel that Alan Wolfson kindly provided at R2LA VI. The Kenny Baker R2 shows that slot in the ankle is backed by a right angle, rather than a flat cover, hence the square channel. Alan also provided the same channel for droid #1, so this is becoming a tradition. Thank you again, Alan!


I cut a segment of the square tube of styrene channel approximately to length, and then lightly sanded the end to bring it down to the right size.


I fitted the segment into the slot, and glued it into place.


I repeated the process for the other ankle.

Once the glue has had time to dry, I will go back to the front side and trim off the front of the channel, flush with the surface of the sloped part of the ankle. Then, it will be ready for light filling and sanding.

Saturday, March 28, 2009

Finished Sanding Ankle Wedges

Today I spent some time sanding the backside of the resin ankle wedges to fit the profile of the ankle.

I had sanded the backs of these earlier to smooth them out, but the angle where the surfaces of the ankle and the back side of the wedges meet up were off by about a degree. The wedges hugged the cylinders just right.


I taped down some sand paper and got to work sanding.


Much better!


Repeat three more times for the other outer leg and both sides of the center leg, and I'm done.

Wednesday, March 25, 2009

Visit with Dan

Dan Stuettgen from Houston, Texas, is in town, and Mike Senna, William Miyamoto and I met up with Dan at Mike's house. We BBQ'd some burgers and talked droid building.

Dan showed us pictures of his R6 build, which were quite interesting.


We also looked over Mike's droid, and Mike and I compared his modified RDFR23 speed controller (with the black capacitors) against mine (with the blue capacitors). Vantec had reworked his board a bit to eliminate the infamous hum that the speed controller induces in the foot motors.


It was a nice mid-week get-together.

Saturday, March 21, 2009

Edge of LA ComiCon

Today R2 visited the Edge of LA ComiCon, a small event put on in the city of Claremont, CA. As usual, R2's job was to pose for pictures and entertain visitors.


Even more exciting, R2 got to be with C-3PO during a rare joint appearance of these two droids. Ian Martin's C-3PO costume was recently completed, and this was his first event as C-3PO. Just getting into the costume is an event in itself.


Suited up and ready to go!


Once outside, the characters milled around and greeted visitors.


Even protocol droids get thirsty. Ian uses the Anthony Daniels straw method.


It was a nice, small event, perfect for C-3PO's first time out.

Sunday, March 15, 2009

Sanded Resin Ankle Wedges

Today I spent some time sanding the back side of the resin ankle wedges. This is the side that was at the top of the mold, where the resin is poured and intentionally overflows a bit to ensure the mold is completely full.

Lots of resin dust, which probably isn't too good to breath, so I was careful.


There is a tiny gap between the cylinder and the wedge. I can live it it, but I may try to sand the wedge to make it so it fits both the cylinder and the ankle, if I feel particularly industrious.


All four pairs are mostly done.

Saturday, March 14, 2009

Fitted Resin Cylinders to Legs

Today I spent a few minutes widening the gap on the back of the resin ankle cylinders, in order for them to wrap around the legs. The gap in the resin is a bit smaller than the width of my outer legs, probably due to the standard 1%-2% shrinkage in the resin casting.

A simple file will do the trick.


That's better. I left a little extra room for when the leg is primed and painted.


All the cylinders fit their respective legs, I still need to do a little finishing work on them and the wedges.

Thursday, March 12, 2009

Finished Casting Resin Ankle Cylinders

Today I had time in the morning and evening to finish pouring the resin ankle cylinders.

80 grams of this, and 80 grams of that.


Once "this and that" (also known as isocyanate and polyol) are mixed thoroughly, into the mold it goes.


Give it an hour for a larger part like this to cure.


And we have another cylinder. Magic!


I repeated the process for the fourth cylinder, so those are done being cast. Later I will fill and sand as needed.

Wednesday, March 11, 2009

Started Resin Cylinders

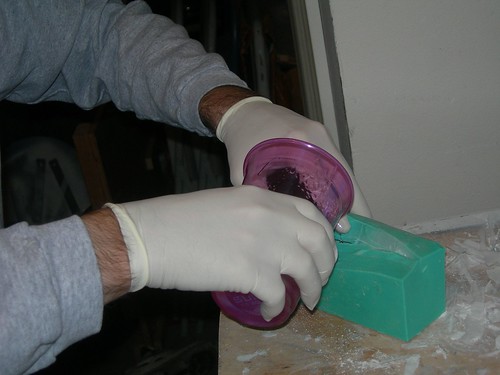
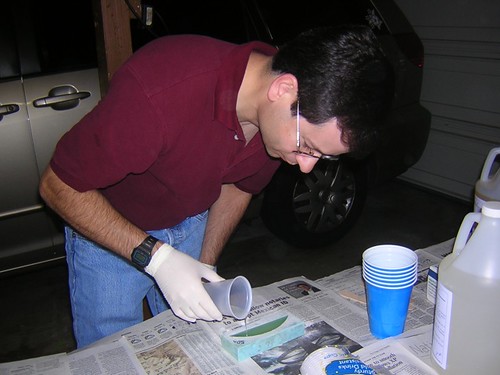
Tonight I had little time to pour the resin for two of the four resin cylinders that I will need.

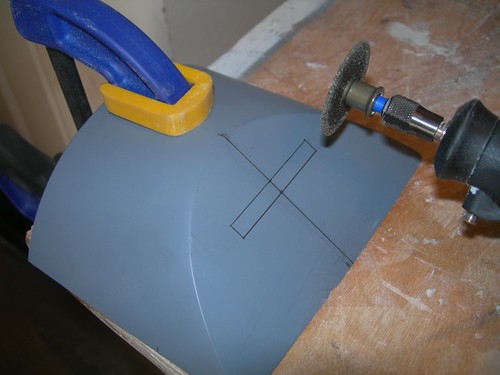
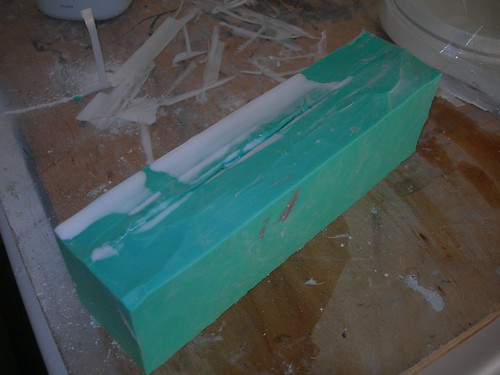
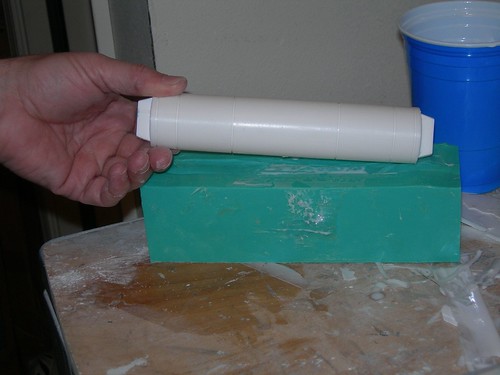
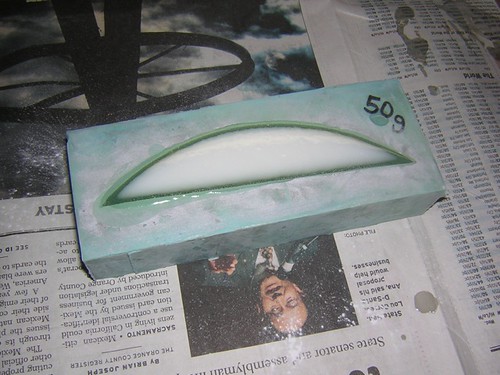
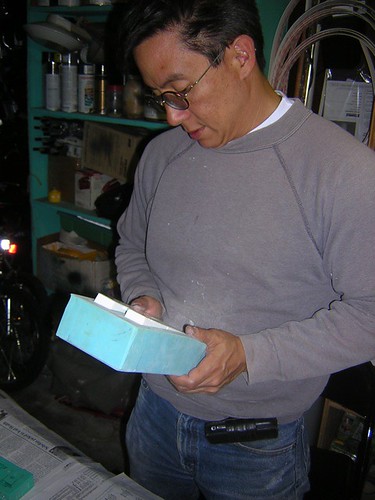
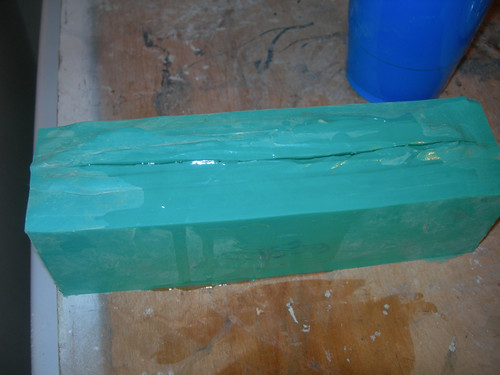
The cylinder mold is trickier to work with than the previous molds I used for the other parts, as they were open-faced, and their shapes didn't require me to flex the mold very much. The cylinders are another story, the mold is closed and the end caps extend beyond the mold opening. From the outside, the mold looks like a light green brick.


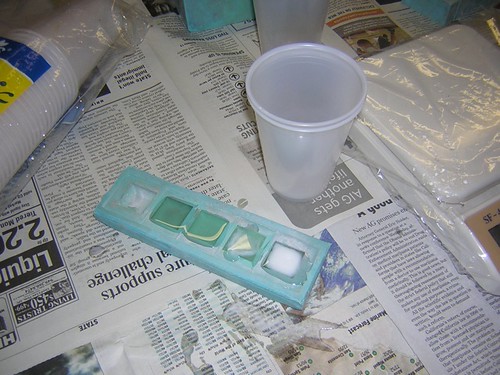
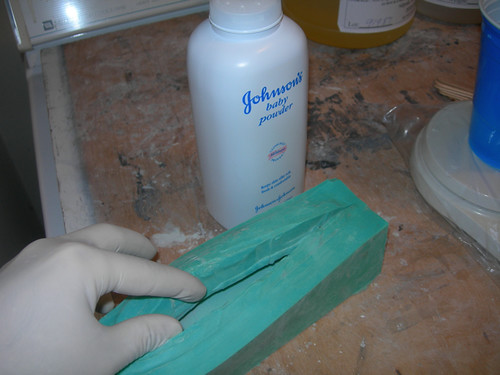
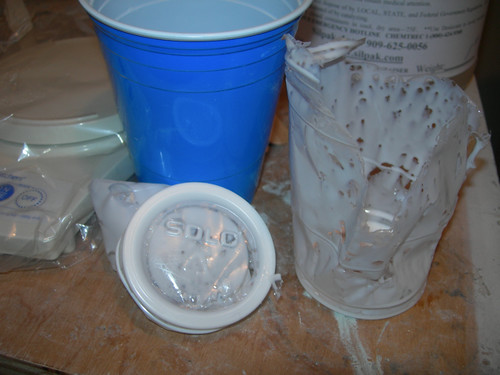
The first step is to liberally apply baby powder to the inside of the mold and shake and tap it around to get full coverage, removing any excess after full coverage has been attained. I'm told the baby powder draws any air bubbles toward it via capillary action, resulting in a better casting. I've seen no evidence of bubbles so far on my castings, so I'm not going to argue with success.


The next step is to start pouring the resin. I was shooting for 80 grams of each of the two components, but I went a little over. Oh well, better too much than not enough.


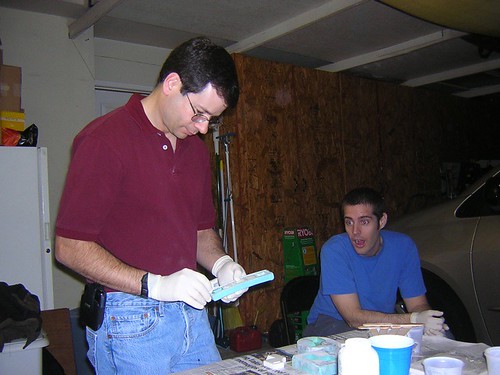
The liquid mixture is then poured into the mold. There is some overspill, but it hardens into solid resin as well, and once hardened, it comes off easily.


I let the first cylinder set for about 25 minutes, which was pretty much enough time, but to extract it from the mold, the mold is bent out of the way, and pulling the part out can cause it to bend very slightly too. The bend in the part can be reversed immediately, though (or later by heating the part up). I let the second cylinder set for a full hour to make sure it would not bend.


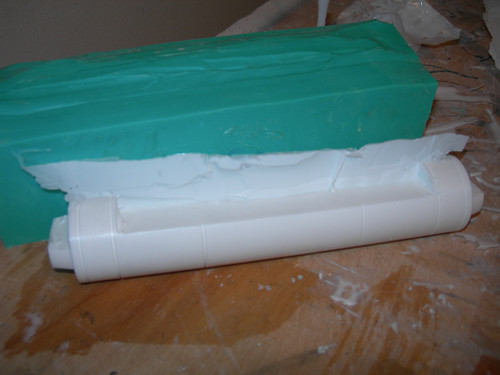
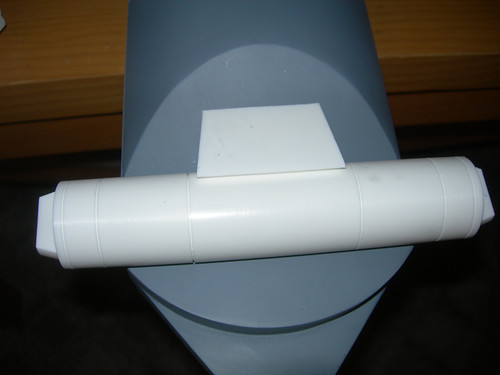
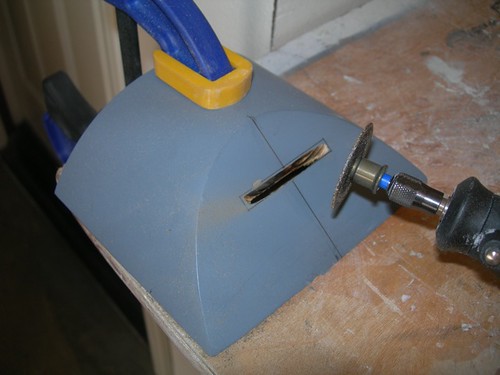
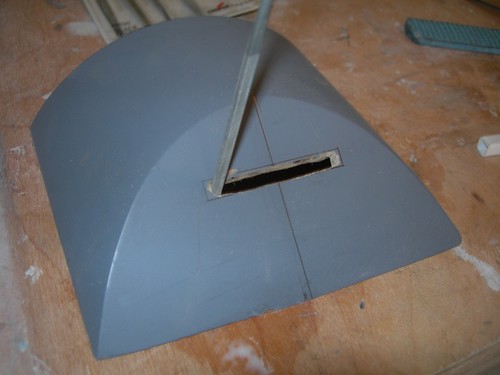
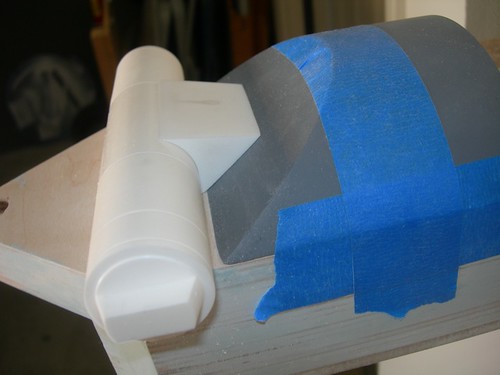
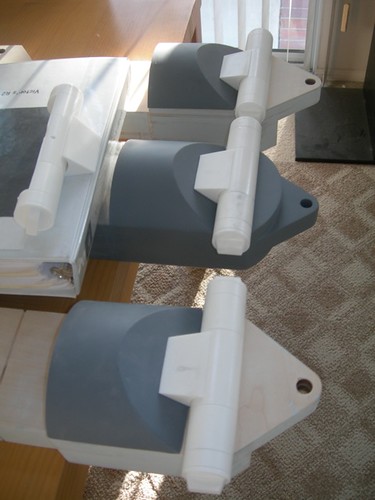
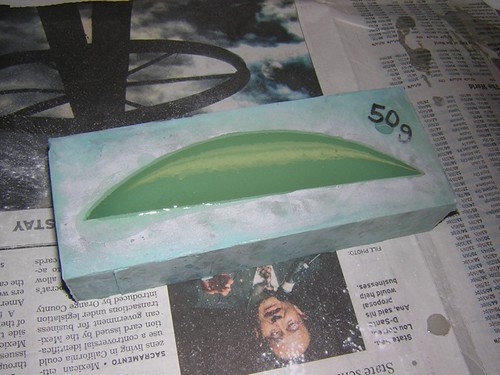
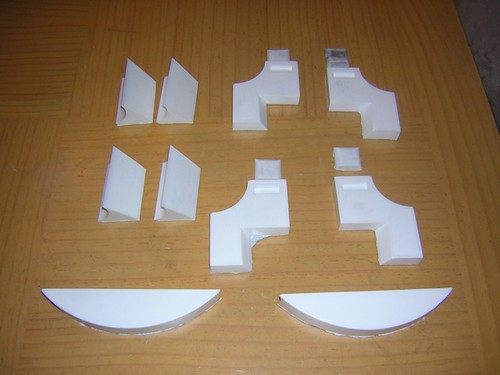
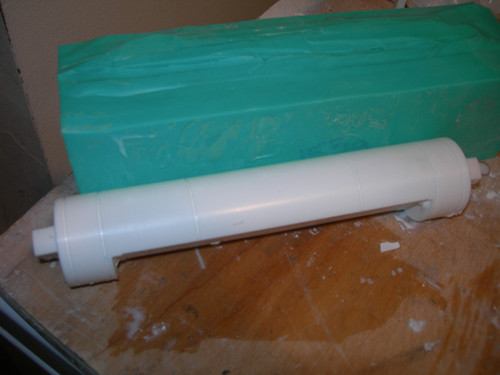
The cylinders turned out pretty well, with just a minimal amount of finish work required.


I'm also getting good at molding the inside of cups.


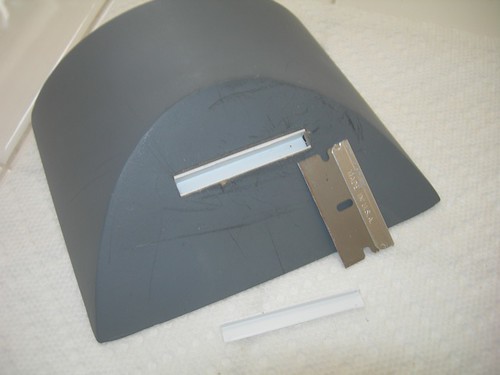
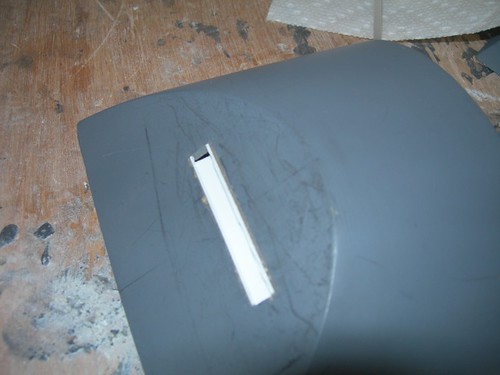
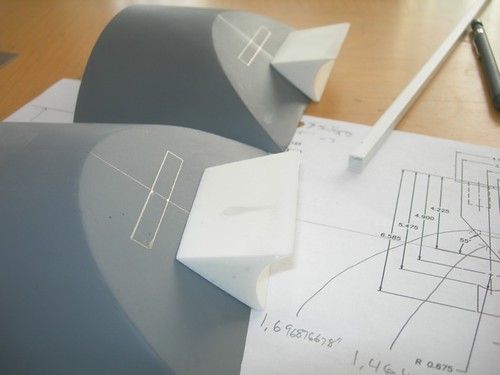
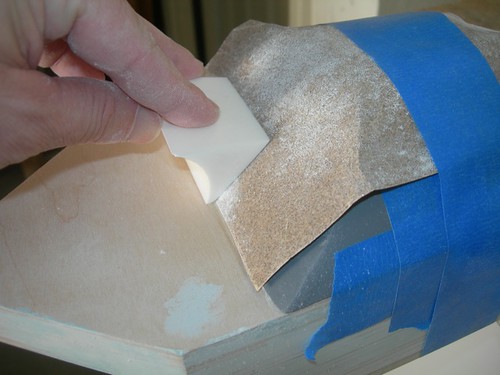
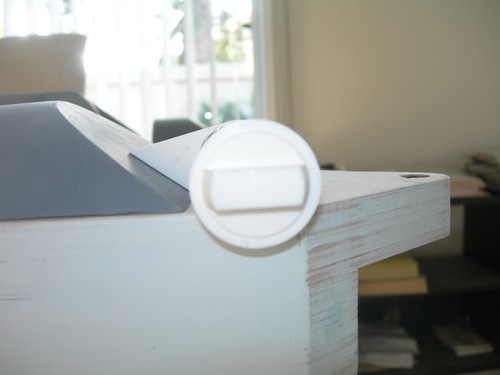
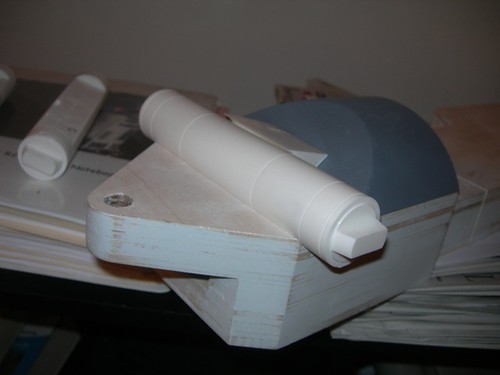
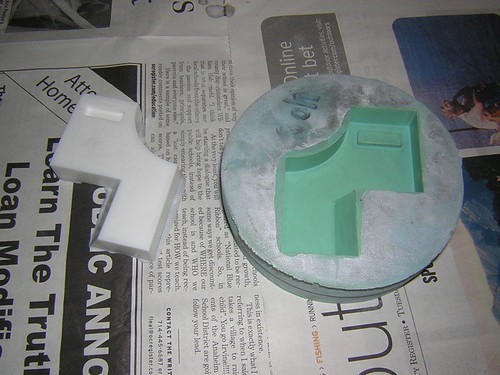
I did a quick test fit on the middle leg. The wedge still needs some sanding on the back side to smooth out where the top of the resin filled up above the mold, and once that is done I think the fit should be just about perfect.

Wednesday, March 04, 2009

Pouring Resin

Tonight, I got to try something completely new to me, pouring resin.

Mike Senna had some molds made of some of his scratch-built parts, so I joined Matt Munson at Mike's house to learn how to pour resin and cast a few parts for myself from Mike's molds.

I ordered Silcast II resin from Silpak here in Southern California. They offer a one-gallon kit that consists of a pair gallon jugs of the resin mixture. The two additives are poured in a 1:1 ratio by weight.

I've seen Dan Smith's demos in person, but Matt was kind enough to walk me through the process. First up, mixing the chemicals and then pouring the result into the mold, the ankle cylinder holder in this case.


The resin goes into the mold fairly clear, but after a minute or two, it "kicks" and starts to turn white quickly. The resin also gets quite warm, and it needs time to cool before it can be pulled from the mold.


Mike's scratch-built ankle details are made from two parts, so I poured the main body parts while Mike poured the little square parts that sit up top.


Once the casting has cooled, it is pulled from the mold, as Matt Munson looks on in horror.


Success! Matt approves.


Meanwhile, we took a shot at casting Mike's scratch-built booster cover, but alas, the mold has given up the ghost. Oh well.


In the meantime I have several spiffy parts with which to work. A little clean-up on the parts is required, but they are close.


I may pour a few more parts from molds of Mike's scratch-built parts before too long.